


Photos are everything for clothing sales. A beautiful vintage dress photographed beautifully sells for $60 in two days. That same dress photographed poorly hangs for weeks at $20. The difference isn't the dress – it's the photography. When buyers can't try items on in person, your photos are the only thing between them and buying elsewhere. 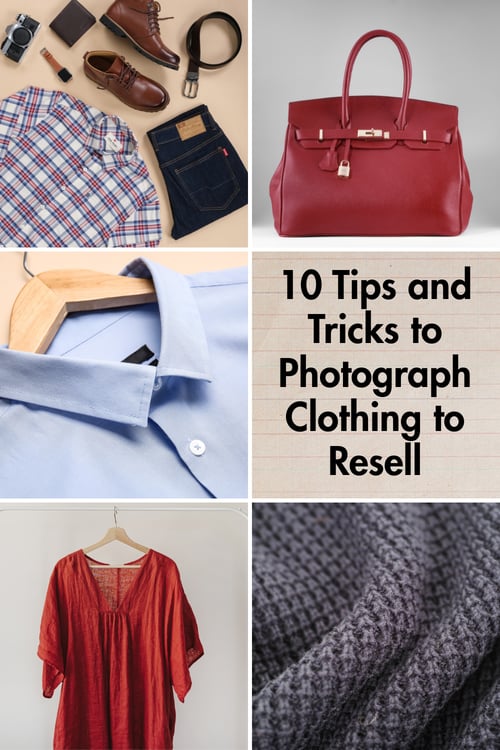
Most clothing resellers take poor photos without realizing it. They photograph items on unmade beds, against cluttered backgrounds, with wrinkled fabric and unflattering angles. Then they're confused why nothing sells. The solution isn't expensive equipment – it's understanding how to position different clothing items so they look their absolute best. Let's transform your clothing photos from "why would anyone buy this?" to "I need this now!"
What is in the guide:
- T-Shirts and Basic Tops
- Dresses
- Jeans and Pants
- Jackets and Outerwear
- Sweaters and Knits
- Blouses and Button-Ups
- Accessories and Small Items
- Creating Styling and Outfit Context
- Flat Lay Techniques
- Common Clothing Photography Mistakes
T-Shirts and Basic Tops
Hang t-shirts on hangers against plain walls or simple backgrounds. A simple wooden hanger or slim plastic hanger shows the shirt's actual shape and fit.
Smooth out wrinkles completely before photographing. Iron if necessary – wrinkled shirts look cheap and unwanted. Take a front view, back view, and close-up of any graphics, logos, or special details.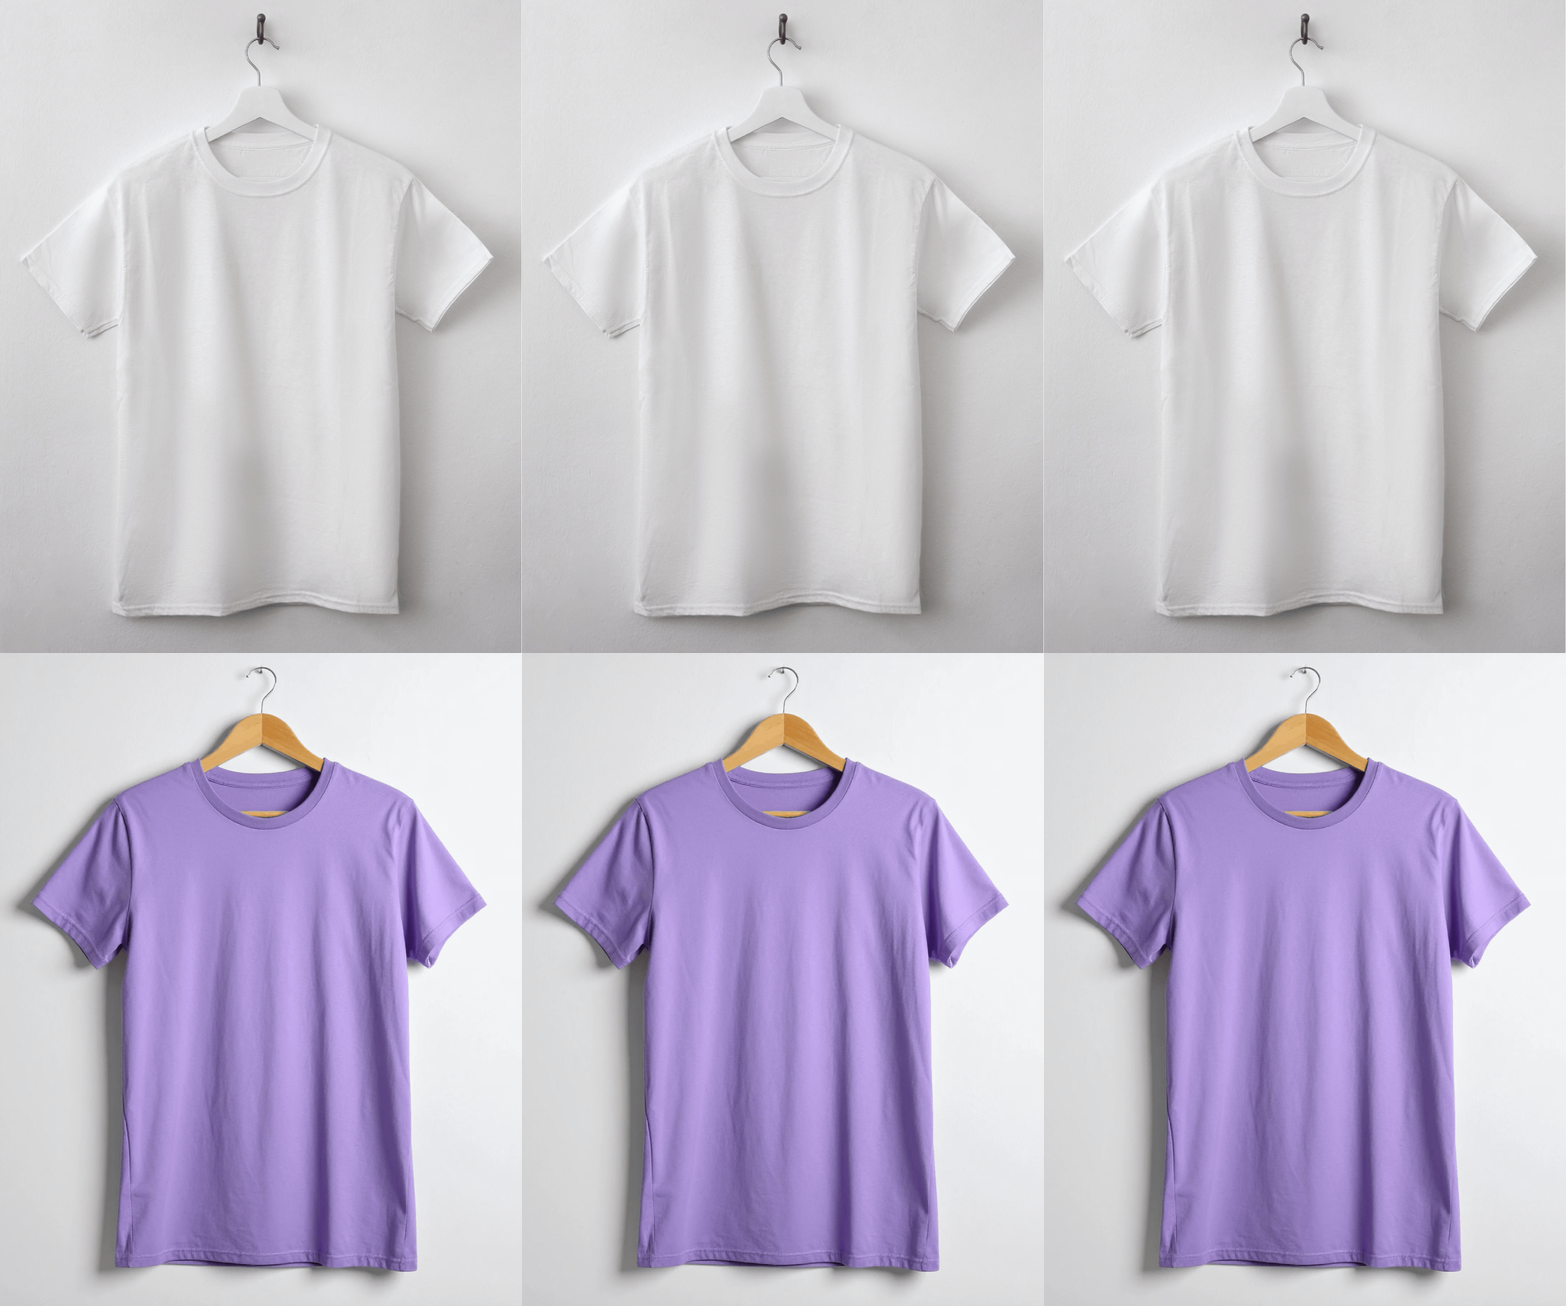
For fitted t-shirts, lay them flat on a clean surface to show the actual fit and cut. This matters more for women's fitted cuts than oversized or unisex styles.
Position the hanger so the shirt hangs naturally without bunching or weird folds. A properly displayed t-shirt creates clean lines that show the item's true appearance.
Photograph from slightly above eye level to avoid distortion. Straight-on photos look most professional and true-to-size.
Dresses
Hang dresses on hangers using the same technique as tops – clean hangers against plain backgrounds. The hanger should be appropriate for the dress weight so it doesn't sag or distort.
Show the full dress from top to hem. For long dresses, step back further to capture the entire length without cutting off the hem.
Include close-ups of details: neckline, waistline, hem, and any special features like zippers, buttons, or beading. Details sell dresses.
.gif?width=250&height=313&name=dress%20(1).gif) For fitted dresses, consider laying them flat to show the actual silhouette and fit. This helps buyers understand how items will actually look when worn.
For fitted dresses, consider laying them flat to show the actual silhouette and fit. This helps buyers understand how items will actually look when worn.
Photograph the back of dresses, especially if the back is different from the front (low backs, open backs, or special details).
For dresses with a full skirt or flowy fabric, you might want one photo showing it laid flat to reveal the skirt's volume and movement.
Jeans and Pants
Lay jeans and pants flat on a clean, contrasting surface (white background works great). Straighten the legs fully so you can see the actual fit and cut.
Fold one leg over the other at the waist to show the waistband clearly and reveal brand labels. This presentation is standard and works well.
Include close-ups of the label showing brand, size, and style number. This information is crucial for jeans shoppers.
Photograph pockets if they're distinct or have details. Show the crotch area and inseam to give buyers a complete picture of fit and condition.
For pants with special features (unusual pockets, zippers, hardware, or distressing), photograph those details up close.
Show the waistband and fly area clearly so buyers understand closure type and overall condition.
Jackets and Outerwear
Hang jackets on sturdy hangers to show their true shape and fit. Heavy coats need appropriate hangers so they don't sag or look distorted.
Photograph the front and back fully. For jackets with interesting backs (vents, slits, or special details), make sure the back view is as professional as the front.
Show the collar clearly. For jackets with distinctive collar styles, photograph up close so detail is visible.
Include close-ups of hardware: zippers, buttons, snaps, and pockets. These details affect durability and appeal.
For leather or suede jackets, photograph in a way that shows the material's texture and condition. Lighting matters – show the material honestly, not with unflattering harsh shadows.
Include inside views if there's a lining visible or brand labels inside. These details matter for quality assessment.
Sweaters and Knits
Lay sweaters flat on a clean background rather than hanging, which can stretch necklines and distort fit. Arrange sleeves neatly to show the full shape.
Straighten the sweater fully so buyers can see the actual size and fit. Don't let it bunch or wrinkle.
Photograph the front, back, and both sides to give complete views. Include neckline close-ups showing any pilling, stretching, or special details. 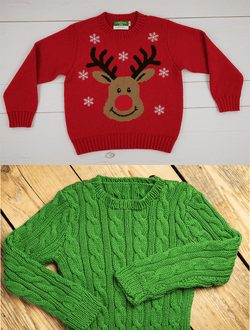
For cardigans, photograph both open and buttoned positions to show how they look each way.
Show the cuff area clearly, especially if there's stretching, pilling, or special details like ribbed cuffs.
Include close-ups of any damage, pilling, or wear on the fabric. Honesty prevents returns and builds trust.
Blouses and Button-Ups
Hang blouses on hangers to show how they drape and fit when worn. For button-ups, photograph both buttoned and unbuttoned to show options.
Focus on buttons and closures. Photograph close-ups showing all buttons, button condition, and any missing or loose buttons.
Show collar details clearly, especially for structured collars or special collar styles. Front-facing collar photos work best.
Include photos of the sleeve cuffs and any cuff details. Photograph how sleeves sit when hanging on the hanger.
For patterned or printed blouses, photograph the pattern from multiple angles to show how it repeats and looks overall.
Photograph the back of the blouse, especially if the back differs from the front or has interesting details.
Accessories and Small Items
Lay small accessories flat on plain backgrounds. Position items so buyers see the full piece without shadows distorting appearance.
Use props to show scale. A purse photographed next to a coin or hand shows size clearly. A scarf arranged with a ruler shows length.
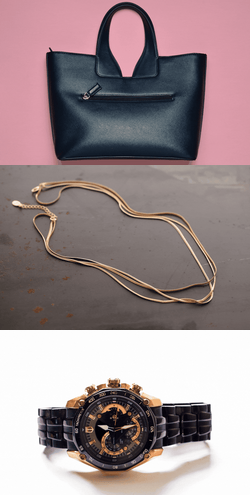 Photograph both sides of accessories if different. Show the back of jewelry, both sides of scarves, and interior details of bags.
Create close-ups of any hardware, clasps, zippers, or branding on accessories. These details matter for quality assessment.
For jewelry, use a simple white or neutral background. Photograph from directly above to show the piece clearly without distortion.
Creating Styling and Outfit Context
Beyond individual item photos, create lifestyle shots showing items styled together.
Photograph outfits as complete looks: shirt with jeans, dress with jacket, etc. This helps buyers envision wearing the items.
Hang complete outfits together on hangers to show how pieces work together. This creates visual interest and increases multi-item sales.
Use props to show styling: hats, scarves, belts, jewelry. Show how accessories work with the main item.
Photograph items on a dress form or mannequin if available. This shows fit and drape in a way that helps buyers understand sizing.
Style items in ways that appeal to your target buyer. For vintage items, consider vintage styling. For modern basics, contemporary styling works better.
Flat Lay Techniques
Flat lay photography shows items arranged on a clean surface from directly above. This technique works well for styling complete outfits or showing multiple items together.
Arrange items in a visually pleasing way with some overlap but clear sight lines to each piece. Create visual interest through arrangement. 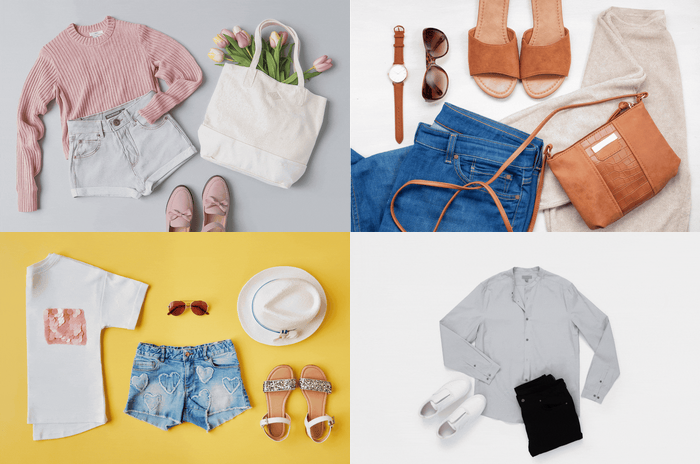
Use props: belts, scarves, shoes, bags. Style items as you'd wear them together – this creates compelling flat lays.
Photograph from directly above to avoid perspective distortion. Use natural light from the side to create depth without harsh shadows.
Include styling context: a magazine, flowers, or relevant props that match your item's aesthetic. This creates professional, lifestyle-focused images.
Common Clothing Photography Mistakes
Don't photograph wrinkled clothing. Iron or smooth items before shooting. Wrinkles look cheap and unprofessional.
Don't use messy or cluttered backgrounds. Clean walls, white poster board, or simple surfaces work best. Buyers focus on items, not your bedroom.
Don't use harsh overhead lighting. It creates unflattering shadows. Natural light from a window is best.
Don't photograph items bunched, folded awkwardly, or distorted. Show clothing how it would actually look worn or laid out.
Don't skip the back view. Many clothing details appear on backs. Show them.
Don't forget close-ups of important details: labels, condition issues, special features, damage, or wear.
Don't use filters or heavy editing that changes colors. Honest colors prevent returns from buyers expecting different shades.
Don't photograph only one angle. Multiple angles from different perspectives show items completely.
The Photography Payoff
Great clothing photos sell items faster and for more money. A beautifully photographed vintage dress might sell for 30-50% more than the same dress photographed poorly. That's real money worth the effort.
Good photography signals professionalism. Buyers trust sellers with quality photos more than those with sloppy images. Better trust means better reviews and repeat customers.
As you take more photos, you'll develop an intuitive sense for good composition and positioning. The tips become automatic. Eventually, you'll naturally position items in ways that showcase them beautifully.
Most successful clothing resellers spend more time on photography than on any other single task. They understand that photos are the gateway between browsing and buying. Invest in this skill, and your sales will reflect it!